


 SUSTAINABILITY
 WARRANTY
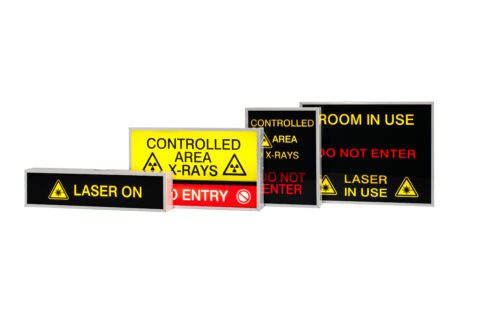
 WHY USE...
 NEWS
NEWS


BS EN 1838 Simplified
EN 1838 (2024) introduces key updates from EN 1838 (2013), including:
- Revised emergency escape route lighting requirements to cover the entire route width.
- More detailed specifications for emergency lighting at points of emphasis and hazardous areas.
- New considerations for emergency lighting during and after lockdowns or prolonged power disconnections (Annex C) (Page 30).
- Clarification that emergency lighting may serve both safety and operational purposes.
Adaptive emergency escape lighting (AEELS)
Reference is made in section 3.17 and 3.18 to Adaptive emergency escape lighting system (AEELS) and adaptive Safety Sign in compliance with CEN/TS 17951
Points of Emphasis
Section 4.2 Points of emphasis
h) There must be at least 5 lux of light shining vertically near all fire alarm call points, firefighting equipment, control panels, escape routes, and rescue plans (as described in ISO 23601).
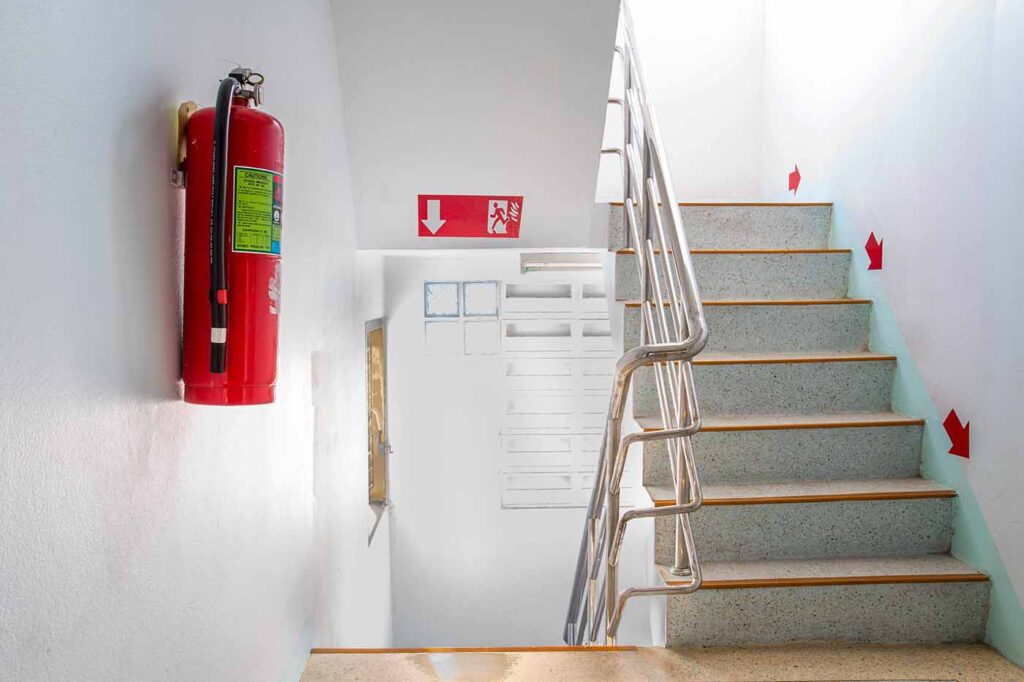
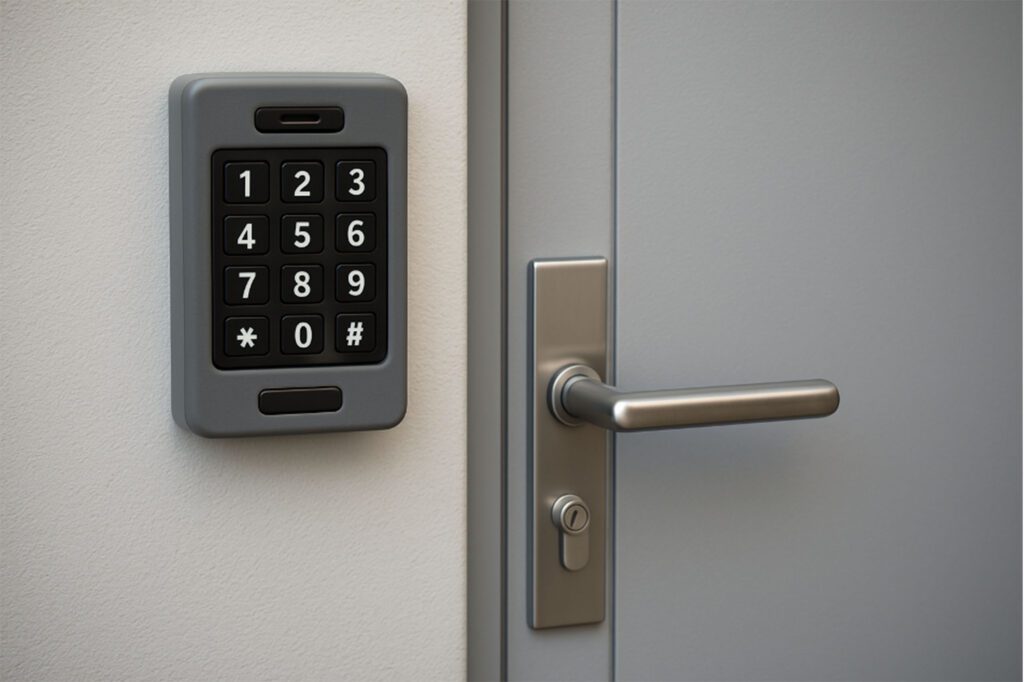
m) There must be at least 5 lux of light shining vertically near manual controls used to unlock electronic doors.
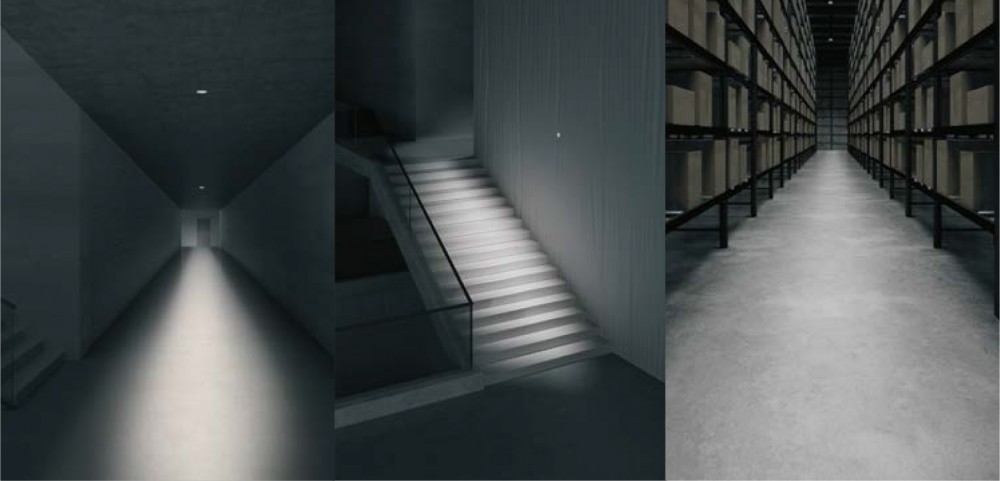
Escape Route Lighting
5.1.1 The goal of escape route lighting is to make sure people can see clearly when evacuating. The lighting on the floor of the escape path must be at least 1 lux.
If the escape route is wider than 2 meters, the outer 0.5 meters on each side are not included in this measurement.
If the escape route is 2 meters wide or less, the outer 1/4 of the width on each side is not included.
5.1.7 Since LED’s and batteries get weaker over time and dirt can build up, regular checks and maintenance are needed to make sure the lighting still meets the rules in 5.1.1 and 5.1.2. (page 12)
This must follow the EN 50172. Recommendations for how to check light levels are in Annex B. (page 22)
5.1.8 Every part of the escape route must be lit by at least two light sources, so that if one fails, the path doesn’t go completely dark or lose its direction signs.
Lights that serve multiple purposes (like showing direction and lighting the path) can be used.
For small areas (8 m² or less), if one light covers everything, a lit exit sign can count as the second light source.
Important items like alarms or equipment must still follow the extra requirements from section 4.2. (page 12)
5.1.9 If emergency lighting is needed in a room that doesn’t directly connect to an escape route, the path from the room to the escape route must also have proper emergency lighting that meets all the rules in 5.1. (page 14)
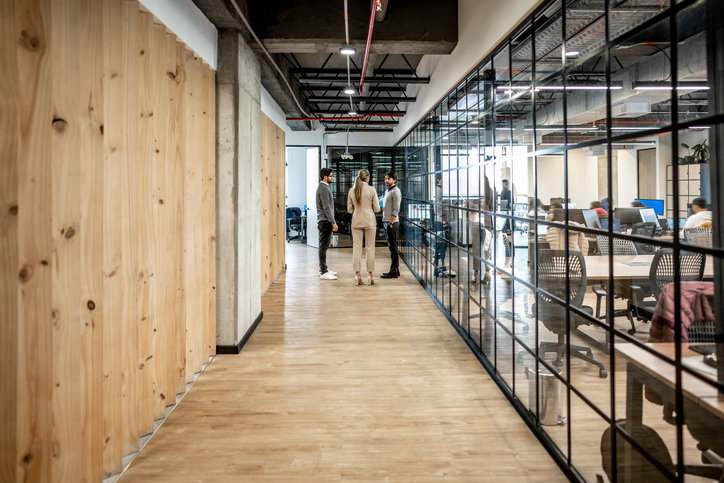
Open Area (Anti-Panic) Lighting
Section 5.2 Open Area (Anti-Panic) Lighting
5.2.1 The purpose of open area (anti-panic) lighting is to:
- Help people safely find their way to escape routes, and
- Make sure firefighting and safety equipment can be seen and used easily.
A risk assessment should be done to decide if anti-panic lighting is needed. It should be provided if:
The area is larger than 60 m², or there are risks like a large number of people or tripping hazards.
If anti-panic lighting is required:
- The lighting on the floor must be at least 0.5 lux in the central part of the area (excluding a 0.5 m border around the edges).
If an escape route goes through an open area but is not clearly marked:
- Emergency lighting must guide people along the shortest obvious path through the area.
This path must have at least 1 lux of light on the floor, with a minimum width of 2 meters, excluding a 0.5 m border at the start and end of the path.
If there are permanent room dividers that can open or close:
- The emergency lighting must meet the requirements in both positions (open and closed).

5.2.7 Because LED’s and batteries wear out over time, and dirt can reduce performance, regular maintenance and light checks are needed to make sure the system still meets the rules in 5.2.1 and 5.2.2. (Page 14&15)
This must follow EN 50172, with extra guidance in Annex B. (Page 22)
High-Risk Task Area Lighting
Section 5.3.8 High-Risk Task Area Lighting (Simplified)
Because LED’s and batteries can get weaker over time and dirt can affect performance, regular maintenance and light checks must be done to make sure the lighting system still meets the requirements in sections 5.3.2 and 5.3.3. (Page 15)
These checks must follow the EN 50172 standard.
Tips for measuring light levels are provided in Annex B (Page 22)
Toilets and Changing Rooms
- Toilets and changing rooms larger than 8 m² must have anti-panic (open area) lighting.
- Toilet lobbies must have emergency escape lighting at the same level required for escape routes.
- In the following areas, there must be at least 1 lux of light on the floor, provided by one or more lights:
- Accessible toilets
- Shower cubicles inside toilets or changing rooms
- Single toilets with baby changing facilities
- In single toilets with baby changing facilities, there must also be at least 1 lux of light directly on the changing table.
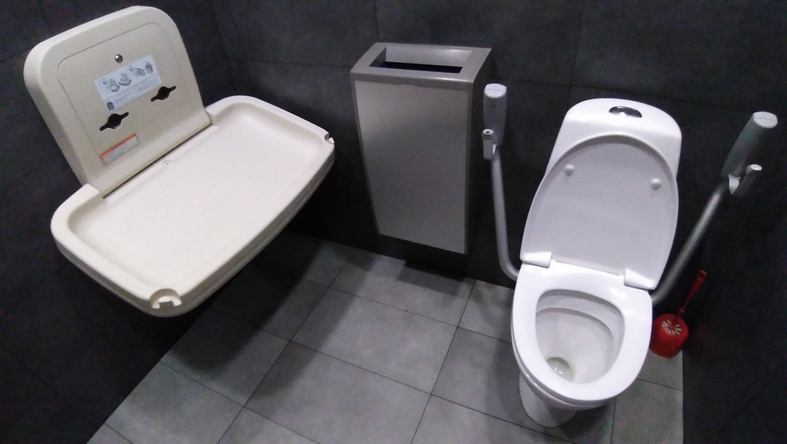
- For illuminated toilet alarms, at least 5 lux of vertical light is required (see section 4.2, i)). (Page 12)
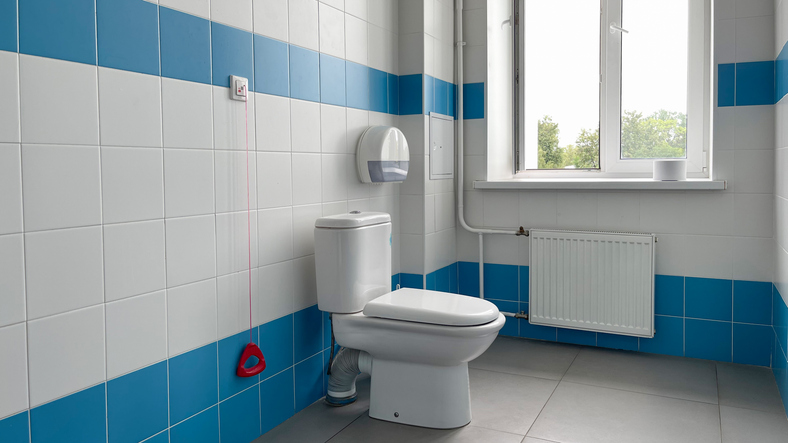
- If a toilet lobby is smaller than 8 m², light from a lit emergency exit sign can help meet system requirements (see 5.1.8). (Page 14)
Note: This does not require emergency lighting in a single-use toilet used only by able-bodied individuals.
Public Indoor Swimming Pools
Section 5.4.2 Public Indoor Swimming Pools (Simplified)
To improve safety in swimming pools during emergencies:
- It is recommended to provide at least 5 lux of horizontal light on:
- The surface of the water
- The floor around the pool
- Access paths to diving boards and flumes
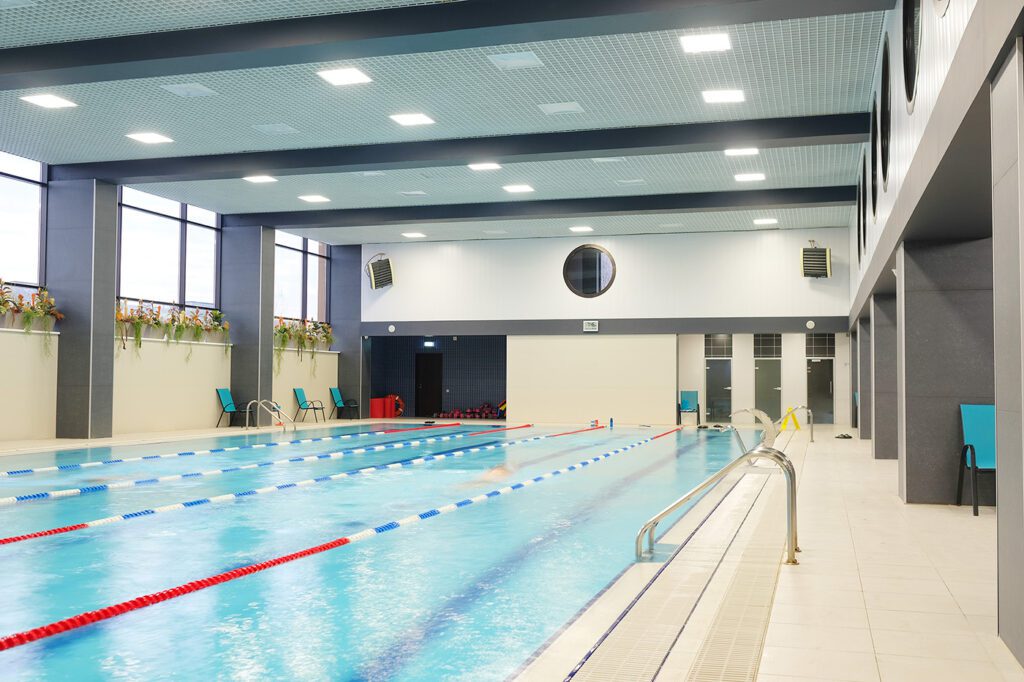
Note: For the time just after a power failure, higher light levels on the water are required by BS 5266-1:2016, section E.10 (page 38).
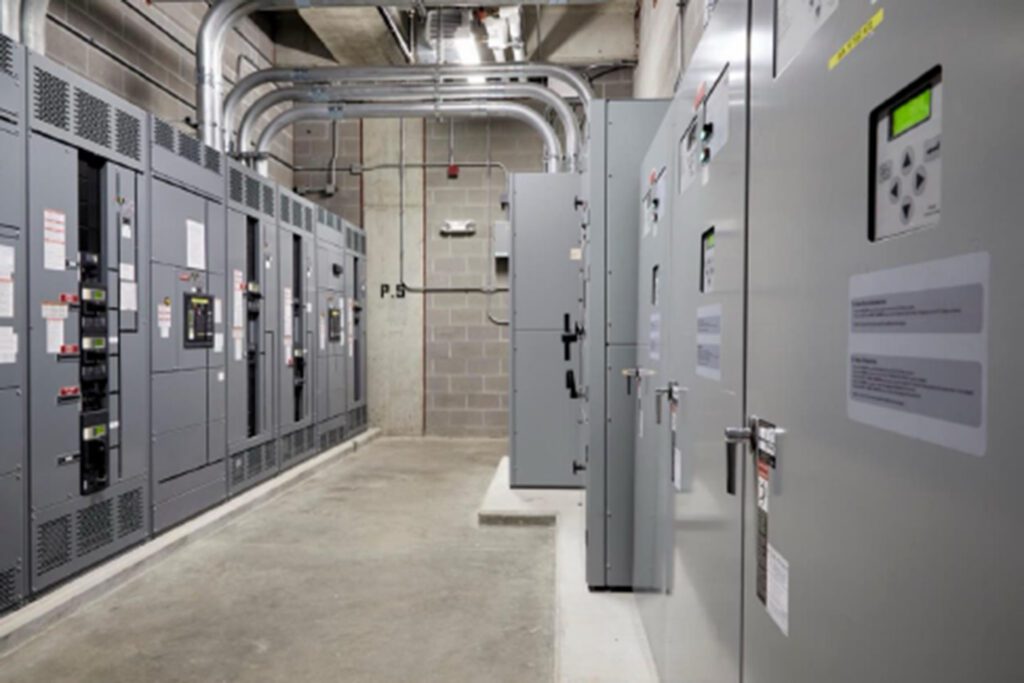
Motor Generator, Control, Switch, and Plant Rooms
- Emergency escape lighting must be installed in:
- Motor generator rooms
- Control rooms
- Switch rooms
- Plant rooms
- Areas next to main control equipment for both normal and emergency lighting systems
- The lighting must meet these levels:
- At least 0.5 lux on the floor
- At least 5 lux on main control equipment and switchboards, measured at the surface where tasks are performed
Illumination
Section 6.3.8 Illumination (Simplified)
Because LED’s and batteries can weaken over time, and dirt can reduce performance, regular light level checks must be done to make sure the system still meets the requirements in Section 6.3.2.
These checks must follow EN 50172:2024, section 7.4. (Page 14)
Local Area Lighting
Section 7.1 Local Area Lighting (Simplified)
7.1.1 The purpose of local area lighting is to keep people safe if they’re allowed to stay in a building temporarily during a power outage.
- If the power isn’t restored in time, evacuation may be necessary, depending on how long the emergency lighting is designed to last.
Note: In some places, like care homes, evacuating immediately might be dangerous or impractical.
7.1.2 Lighting levels must be set based on a risk assessment, but must be at least the same as required for emergency escape lighting in sections 5.1 or 5.2.
- Local area lighting can be part of the overall emergency lighting system.
7.1.3 The lighting must stay on for at least as long as the declared duration of the related emergency lighting.
| X | 1 | ABCDEFG | 180 |
7.1.4 Lighting on the escape path from the safe area to the exit must last as long or longer than the local area lighting.
7.1.5 After a power failure:
- The lights must reach 50% brightness within 5 seconds, and
- Full brightness within 60 seconds.
7.1.6 Because LED’s and batteries degrade over time and dirt can reduce performance, regular maintenance and checks must be done to ensure compliance with 7.1.2, following EN 50172. Tips are available in Annex B. (Page 22)
Standby Lighting
Section 7.2 Standby Lighting (Simplified)
- Standby lighting is used to provide enough light for normal activities to continue if the main lighting fails.
- It is not a replacement for emergency escape lighting.
- Standby lighting fixtures must follow the standards in EN IEC 60598-1 and the relevant parts of EN 60598-2.
- In areas where emergency lighting is required:
- Standby lighting can be used, but only if the emergency escape lighting still works properly for its full rated duration.
- People must still be able to safely exit the area even if the standby lighting fails, as long as the emergency lighting is still working.
- Tips for checking light levels can be found in Annex B. (Page 22)
Annex B
Annex B – On-site Light Measurements (Simplified Overview)
B.1–B.2: Why Measurements Matter
- Emergency lighting should not only meet design requirements on paper, but also be verified on-site.
- Real conditions (like reflections, dirt, lamp aging) can cause big differences from calculated values.
- Periodic checks—initial and every 5 years—help ensure lighting stays compliant.
- Because measuring every point would take too much time, calculations can reduce the number of required measurements, if they match real results.

B.3: Measuring Equipment
- Use Class 2 or better light meters (according to CIE 231:2019 or DIN 5032-7).
- Equipment must be:
- Accurate for human vision (photopic response)
- Cosine-corrected (to properly measure light from different angles)
- Calibrated and temperature-controlled if needed
- Sensitive enough (resolution: 0.01 lux for illuminance, 0.1 cd/m² for luminance)
B.4: How to Measure Emergency Lighting
- Try to minimize stray light, especially since emergency lights are dim.
- Use one of four methods based on how lighting and stray light behave:
Method A – Lighting & stray light are steady
- Measure background light (with lights off).
- Measure total light (with emergency lights on).
- Subtract to get emergency lighting.
Method B – Emergency light changes over time
- Use two meters: one to measure, one to monitor light fading.
- Adjust results based on how emergency light drops during testing.
Method C – Stray light changes over time
- Use two meters: one to measure, one to monitor changing stray light.
- Adjust emergency light levels based on stray light changes.
Method D – Both emergency and stray light change
- Use two monitoring meters (one for emergency light, one for stray light)
- Adjust for both changes in your measurements.
If stray light is above 10 lux, reduce it before testing.
B.5: Measuring Illuminance On-Site
B.5.1: General Tips
- Follow proper measurement grids (based on EN 12464-1).
- Don’t skip points—doing so increases errors.
- In identical rooms (e.g., office floors), testing one may be enough.
B.5.2: Open Area, Local, and High-Risk Lighting
- Use EN 12464-1 grid for initial testing.
- Clear the area of shadows and objects before measuring.
- If some points can’t be tested, compare them to reference points from lighting design.
- For five-year checks, measure at least 10% of the grid points, minimum 5 points.
- If no earlier results exist, do a full check (per EN 50172:2024, 7.3 g).
B.5.3: Escape Route Lighting
- Measure along the centre of the escape path.
- For stairs, measure at least every other step, focusing on the step edges.
- Confirm lighting uniformity along the route (maximum/minimum levels).
B.6: Safety Signs
B.6.1 Internally Lit Signs
- Initial check: No need to measure if they comply with EN 60598-2-22.
- Five-year check: Measure a few signs that appear dimmest to ensure they meet EN 1838 requirements.
B.6.2 Externally Lit Signs
- Initial check: Measure to ensure they’re lit well under emergency conditions.
- Five-year check: Remeasure at least:
- The lowest 10% in each space
- At least 2 signs per type (same design and age)
- If no initial records exist, do a full initial-style check.
B.7: Conformity Assessment
- All measured values must meet EN 1838 minimums.
- Record results in the logbook as per EN 50172:2024, 7.2.
- Allow for measurement uncertainty (usually up to 10%).
- Example: If required light level is 1 lx, actual measurement must be at least 1.1 lux.
- Errors can come from:
- Instrument quality
- Poor measuring technique
Design assumptions not matching real conditions.
Annex C
Annex C – Local Area Lighting (Simplified Overview)
Before an emergency happens, building operators should plan and assess the risks involved in evacuation. In some situations, it may be safer to let people stay inside the building temporarily during a power failure, instead of evacuating right away.
Here are typical ways to manage that safely using emergency lighting:
- a) Use longer battery backup time
- Extend the emergency lighting duration so it stays on while waiting for power to return.
- If power doesn’t return, use the remaining battery time to safely evacuate.
Note: This only works if the full battery duration is available—regular testing is important (ideally automatic).
- b) Escort people using handheld lights
- In places like care homes, residents can be guided to their rooms during the power outage.
- If evacuation is needed (e.g. fire), fire wardens with handlamps (meeting EN 60598-2-22) can help guide them out safely.

c) Conserve battery for emergencies
- Some systems have telecommand or inhibit circuits to save part of the battery for later use in a real emergency.
d) Staff stay, customers go
- In places like shops, the manager may choose to evacuate customers immediately.
- Staff may stay behind in a well-lit room using extended-duration lighting, so they can reopen once the power is restored.
Design Considerations
To make this work, the emergency lighting system may need:
- Longer battery life
- Brighter lights
- Wider coverage areas
- A more robust testing procedure
All of this depends on a careful risk assessment and the building’s emergency plan.
Reference Documents
- SIST-TS CEN/TS 17951:2024 – SIST-TS CEN/TS 17951:2024
- ISO 23601:2020 – Safety identification — Escape and evacuation plan signs
- BSi BS EN 50172:2024 Emergency Escape Lighting Systems | Docs-Store
- BS EN 12193:2018 Light and lighting. Sports lighting
- IEC 60598-1:2020 | IEC
- IEC 60598-2-2:2023 | IEC
